I see many different techniques for
creating bunkers.
Its fun to look at the bunkers on the many
various different courses I have dloaded over the years. Its fun to try to guess
how they were done.
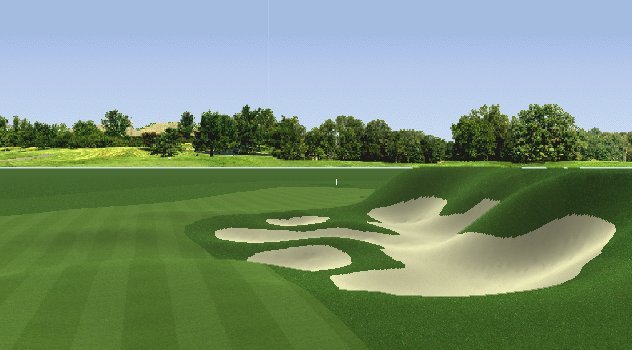
The following is my favorite technique and
also the fastest way to contour bunkers I think you will ever find. And in the
process create bunkers that look very real and smooth.
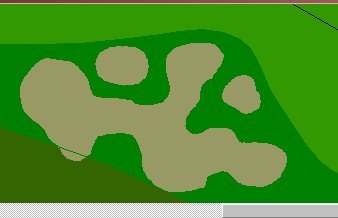
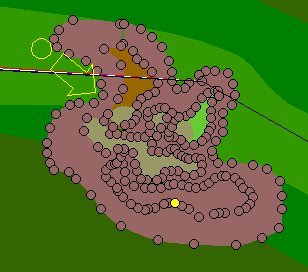
The first thing you do is easy. Create an
interesting shape or a combination of shapes.
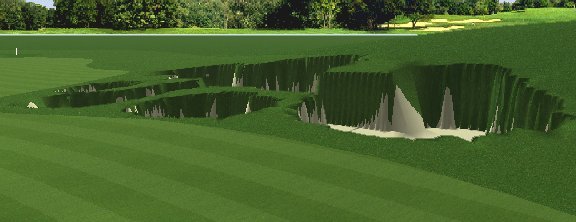
The next step now is to set the depth of
your bunkers.
Hold down and shift key. Select your
bunker, click on your flatten to lowest elevation button. Set the depth too -3
feet of your lowest available elevation. Experiment with this depth for
different effects.
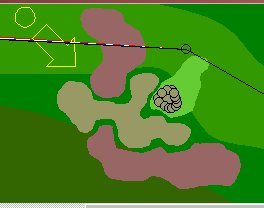
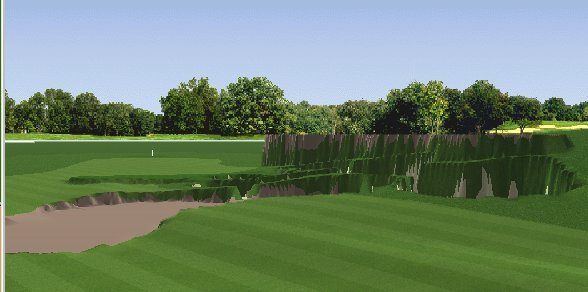
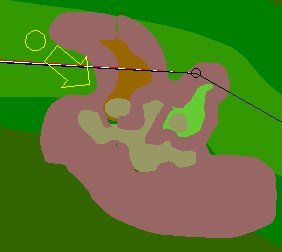
This is the most important part. Look at
these last two jpgs. The different textures were used to represent different
elevation shapes. They were all set to there elevations using the shift key and
flatten to elevation. I set these at various different heights. A good rule of
thumb here is that if you want a 6' mound. Set it as twelve feet here. Smoothing
will reduce it by approximately 50%.
Now you have to ask, how do you smooth
it? Heres the really cool part. Make a shape surrounding all your work. When you reach the point were your about to comeback to the point you started, take a right angle and go back around the outside. Its like making a donut around your bunker. Select this rubber band, then apply one power smooth (hold shift key hit smooth button) Then depending on the severity of the terrain maybe just one or 2 conventional smoothes to finish smoothing it up. Now click on your bunker and do 1 or 2 regular smoothes.